Ohio Buckeye Peanut Butter Truffles
Journey into the irresistible Ohio Buckeye Peanut Butter Truffles, where hidden tips promise to elevate your homemade delights.
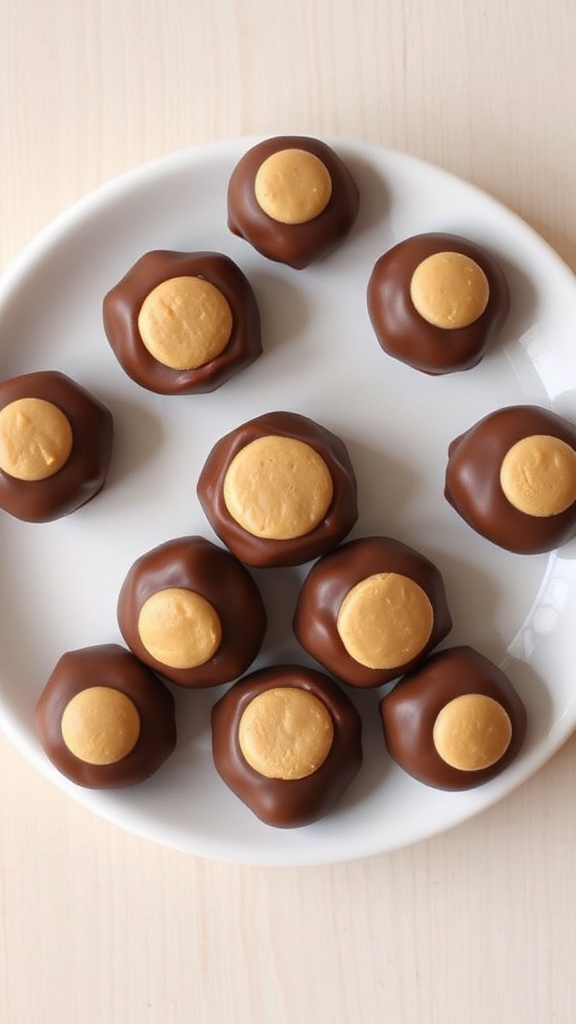
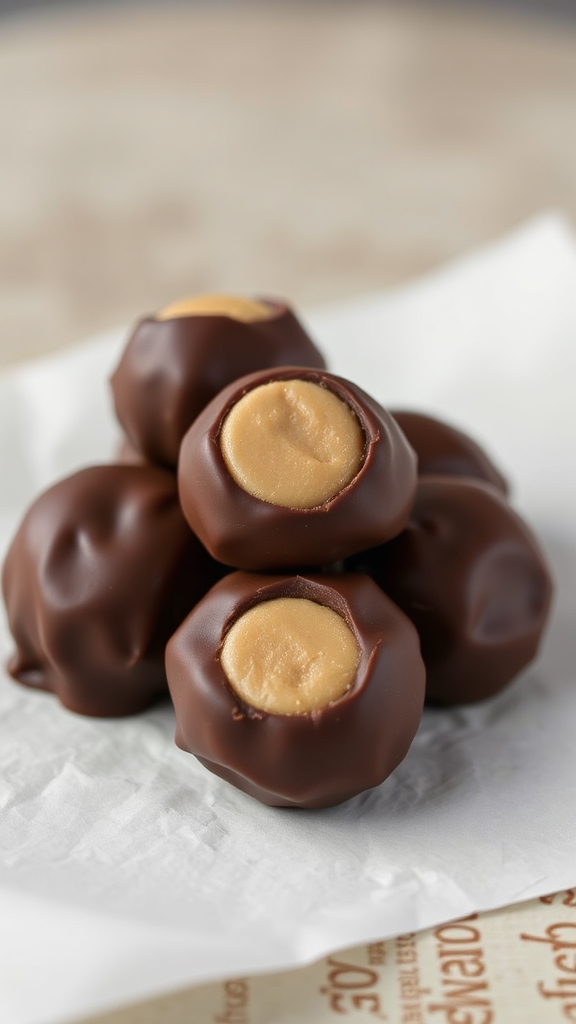
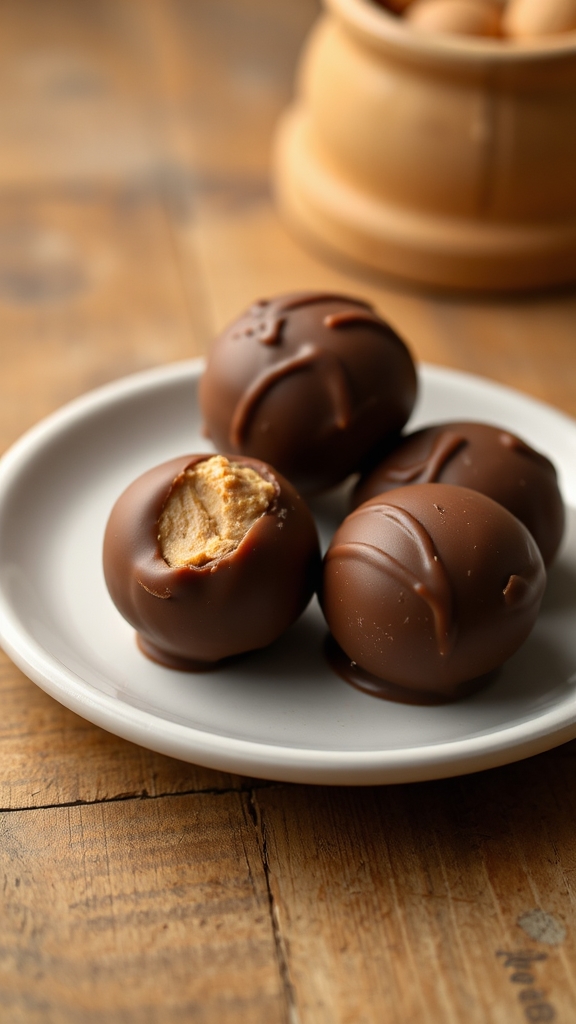
I’ve perfected Ohio Buckeye Peanut Butter Truffles, a Midwest favorite inspired by Ohio’s buckeye tree and its early 20th-century candy roots. I mix creamy peanut butter with softened butter, powdered sugar, and a tablespoon of shortening to keep the chocolate coating smooth and dip-friendly. Then, I roll it into balls, chill them, and partially dip in melted chocolate for that signature look. It’s a simple treat packed with flavor, and I’m sharing tips, variations, and tools just ahead.
History
Ohio Buckeye Peanut Butter Truffles originated in the Midwest, particularly Ohio, where they draw inspiration from the state’s buckeye tree, a cultural symbol, and evolved from traditional American candy-making techniques in the early 20th century.
Regional variations include differences in chocolate coatings or peanut butter mixtures, with Ohio versions often emphasizing a semi-dipped look to mimic the nut, signifying local pride and adaptability in neighboring states like Indiana or Pennsylvania.
These treats are traditionally served during holidays such as Christmas and Thanksgiving, as well as at state fairs and family gatherings, highlighting their role in festive celebrations and community bonding.
Ingredients
– A tablespoon or two of shortening, to keep the chocolate smooth and dip-friendly – it’s like the secret sidekick that prevents cracking or seizing up, which, let’s face it, can happen to the best of us on a bad day.
Without it, you might end up with chocolate that’s more stubborn than a cat in a bath, so don’t skip this one.
Cooking Steps
Let’s jump into the fun part of making those Ohio Buckeye Peanut Butter Truffles, where a little patience turns simple ingredients into something downright irresistible.
Start by mixing up the base in a large bowl: combine about 1 cup of peanut butter with 1/2 cup of softened butter and 2 to 3 cups of powdered sugar until it forms a dough that’s easy to handle.
You might wonder, why all that sugar? It gives the truffles their signature sweet kick, balancing the peanut butter’s nuttiness without overwhelming your taste buds.
Roll the mixture into 1-inch balls and place them on a baking sheet lined with wax paper, then chill them in the fridge for at least 30 minutes to firm up – this step is like giving your truffles a timeout so they don’t melt into a sticky mess later.
Once your peanut butter balls are nicely chilled, it’s time to tackle the chocolate coating, which brings everything together in a glossy finish.
Melt 1 cup of chocolate chips in a microwave-safe bowl, adding a tablespoon or two of shortening to keep the chocolate smooth and dip-friendly – without it, you could end up with a lumpy disaster that laughs at your efforts.
Dip each ball into the melted chocolate using a toothpick or fork, leaving a small peek of the peanut butter exposed for that authentic buckeye look, then set them back on the wax paper.
Let them cool completely at room temperature or in the fridge until the chocolate hardens, which might take 20 to 30 minutes.
For a final touch, store your truffles in an airtight container in the fridge to keep them fresh, though they rarely last long once people spot them.
If you’re feeling adventurous, you could experiment with adding a dash of vanilla extract to the peanut butter mix for extra flavor, but remember, sometimes simple is best in the kitchen.
Oh, and if your dipping skills aren’t perfect on the first try, that’s okay – even the pros have off days, right?
Tips and Variations
When it comes to tweaking those Ohio Buckeye Peanut Butter Truffles, you might ask yourself, how can I make them even more irresistible without messing up the classic vibe?
For a simple twist, try swapping out regular peanut butter for a crunchy version to add a bit of texture that surprises your taste buds, or mix in a teaspoon of vanilla extract for a subtle warmth that elevates the flavor profile just right.
If the dough feels too sticky to roll, dust your hands with a little extra powdered sugar – that’s the trick to keeping things from turning into a frustrating mess, though we all know kitchen slip-ups can happen to anyone.
And for a fun variation, experiment with dark chocolate instead of milk for a richer coating, or roll the finished truffles in chopped nuts for that extra crunch, because sometimes a little playful change makes the treat feel brand new without losing its oh-so-comforting charm.
Oh, and remember, if your dipping technique leaves a few imperfect spots, well, those just add character to your homemade goodies.
Tools
| Kitchen Tool | Purpose |
|---|---|
| Mixing bowl | For combining ingredients |
| Electric mixer or spoon | To mix the peanut butter mixture |
| Measuring cups | To measure ingredients accurately |
| Measuring spoons | For precise measurements of small quantities |
| Baking sheet | To place truffles for chilling |
| Parchment paper | To line the baking sheet and prevent sticking |
| Double boiler or microwave-safe bowl | To melt the chocolate coating |
| Forks or dipping tools | To dip and coat the truffles in chocolate |
| Refrigerator | To chill the truffles before and after coating |

Hi There! I'm Stephanie Miller: Elementary teacher from Columbus, OH sharing grandma's treasured American recipes! 50 years young, yoga enthusiast & kitchen storyteller. Welcome to my food family! 🍰❤️

